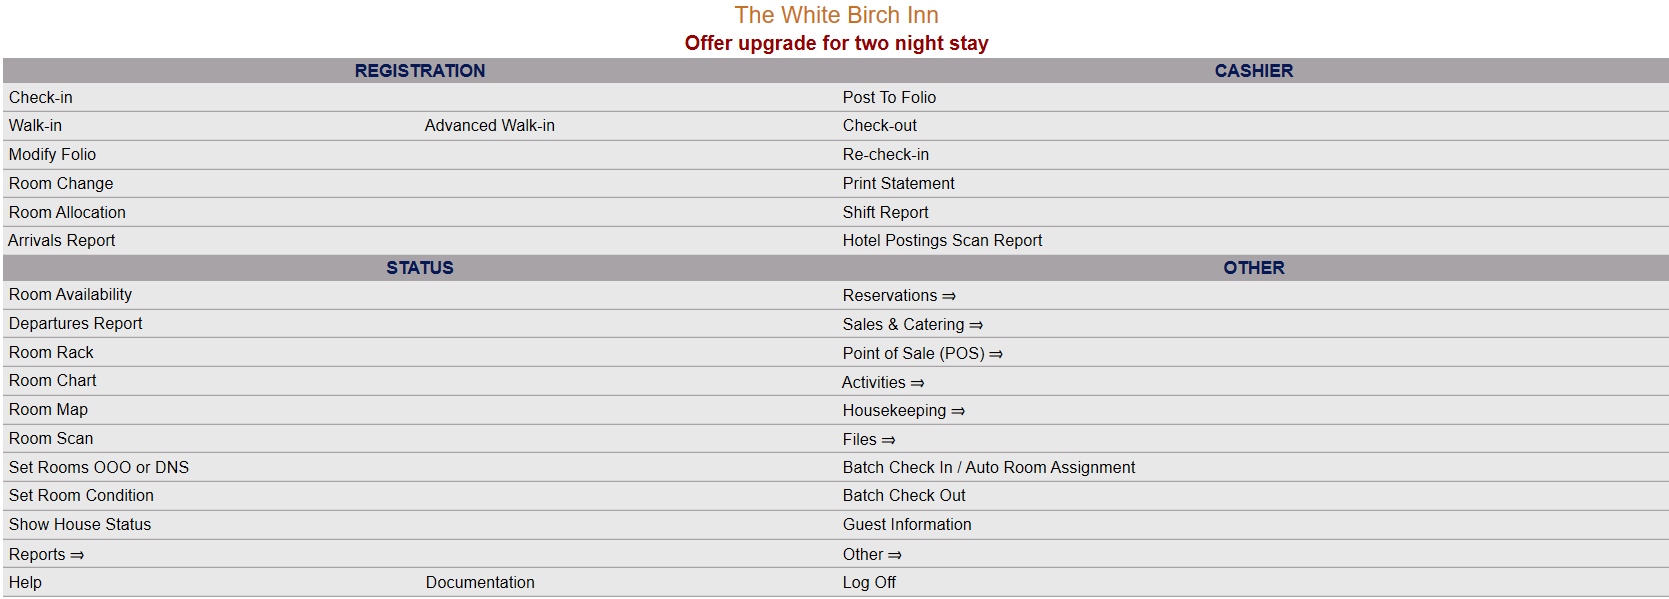
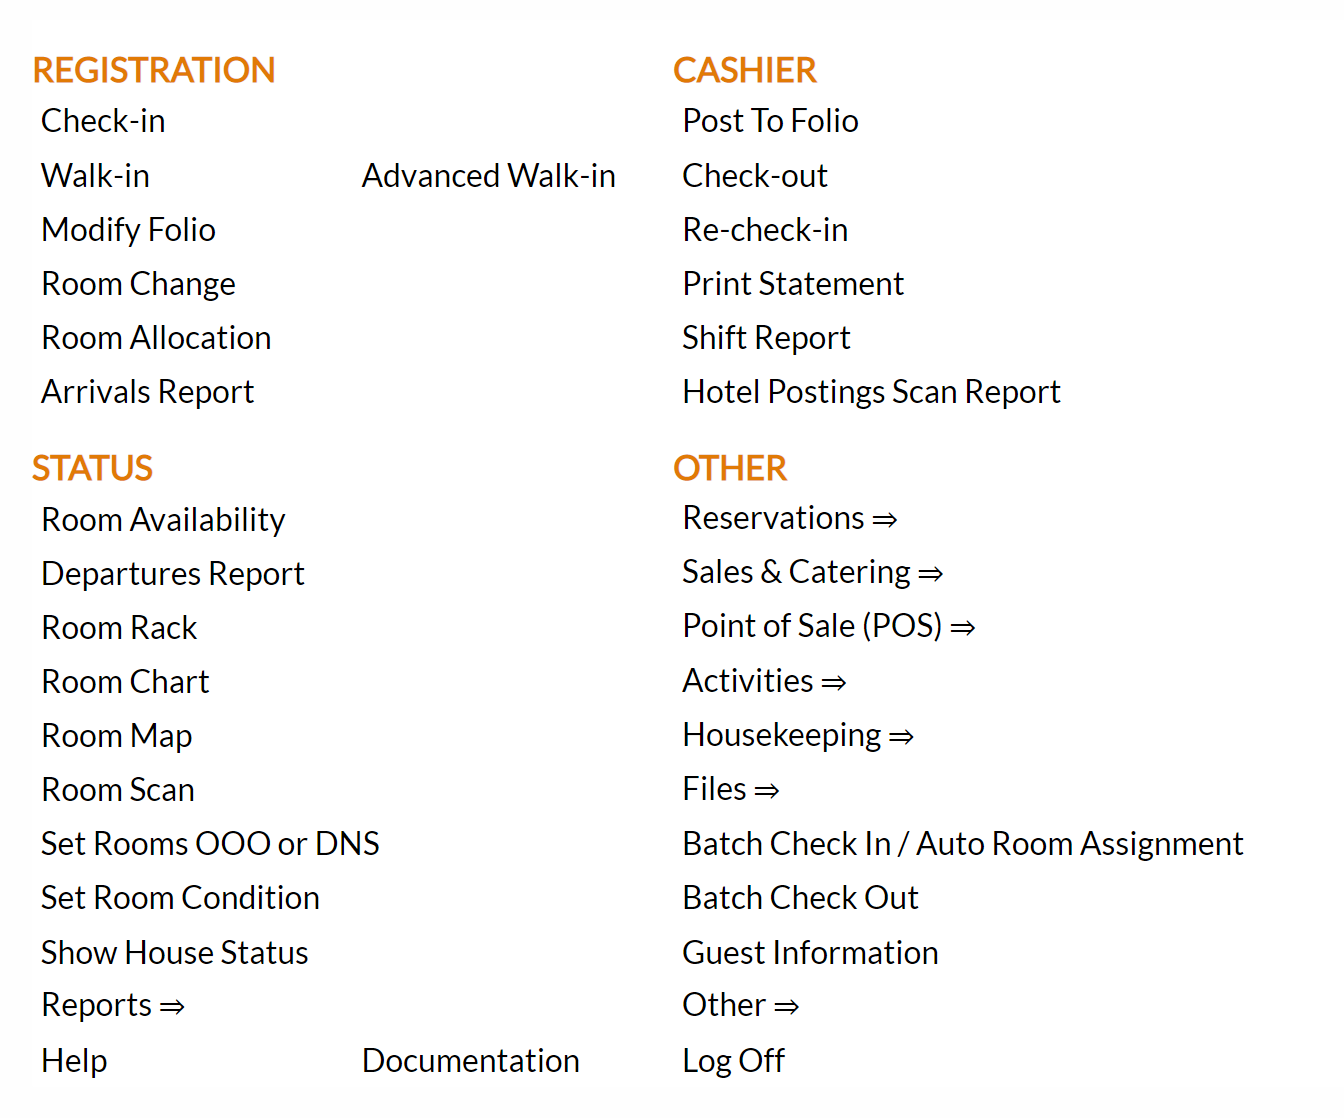
click Files => from the Other section of the Full Menu.
Select Files => from the Other section.
The Files Menu is divided into two sections, Files List 1 and Files List 2.
Select the Accounting => command from the Files List 2 section.
The Accounting Menu is divided into two sections, General and Reports.
Select the Accounts Receivable Invoices (All) command from the General section:
When selected the Accounts Receivable Invoices (All) Maintenance screen will open, with ALL invoices and associated accounts listed.
The currently configured options are displayed by:
Account: A/R account number (as entered on the Accounts Receivable (A/R) account screen).
Invoice number: The number of the invoice issued.
Date: The date the invoice was issued.
Total: The total that the invoice was issued for.
Payments: Any payments that have been posted towards this invoice
Balance: The total of any remaining balance against this invoice.
Invoice Sent?: Indicates if an invoice has been sent or not.
Description: Description of this invoice.
Your options include the following:
Generate a new entry:
Click the New ![]() button from the toolbar to add a new invoice for an account.
button from the toolbar to add a new invoice for an account.
Complete the fields described below.
OR:
Edit the current selection:
Select an existing invoice from the list on the left, and change the field information described below.
A/R Company: Accounts Receivable Account Number. Enter the relevant number in the account number field. This number can be alpha or numeric. You may use the search box to search for and attach the appropriate A/R number. Clicking on the search box (to the right of the field) will open a pop up window listing A/R Accounts for you to select from. Note: The account MUST be marked as an A/R account to be available.
Note: While the field is labeled as requiring the A/R company, it actually requires that the GUEST NUMBER associated with the A/R account be entered. Selecting the appropriate A/R account from the list on the pop up window will do this automatically for you.
This field is required.
Account #: This field is unavailable to you; once the invoice has been saved, it will automatically be completed with the A/R account number and company name entered for the selected account.
Invoice #: This field is automatically populated with the next sequential invoice number available, but may be manually altered if desired. This is however not recommended.
This field is required.
Invoice Date: Enter the desired date for the invoice. By default the Date selected is today's date. To change the date selected, click within the date field. This will open a calendar where you may select month, year and day. When the day has been selected the calendar will close and the date field will be automatically updated with your selection.
Printed Date: Again, this field is unavailable to you; it will be automatically completed with the date when the invoice has been printed.
Description: Description of the invoice. Enter the details of this invoice into this field if any further information is necessary.
Manually assign payments for each transaction?: This check box may be checked or unchecked. By default it is unchecked. If checked, all payments and adjustments to all transactions for this invoice must be manually assigned.
Auto Apply: Automatically apply all payments and adjustments to all transactions for this invoice. This button is UNAVAILABLE until the invoice has been generated, but may subsequently be used to automatically apply (rather than manually assigning) payments and transactions associated with this invoice IF the "Manually assign payments for each transaction?" has NOT been checked.
Invoice Closed?: This check box may be checked or unchecked. By default it is unchecked. It may be manually checked, or may be automatically checked subsequently if the invoice becomes closed out based on a cutoff date selected using the (the Accounts Receivable Configuration screen.
Date Closed: Once an invoice has been closed, the date that it was closed on is automatically entered into this field.
Once these details are complete, save the invoice using the Save ![]() icon in the local tool bar. The invoice record will now be entered onto the left side, and the grayed out options on the screen will become available.
icon in the local tool bar. The invoice record will now be entered onto the left side, and the grayed out options on the screen will become available.
Transaction Area: All transactions, including payments and adjustments, currently associated with this invoice will be shown here.
This area shows the date transactions were made, gives the transaction type in the "Description" column, shows the transaction amount and how much has been paid (if any) and finally gives details of whom/what the transactions were associated with, such as a name and room number if for a reservation, or a check number if a restaurant charge. Manually entered transactions are labeled with "Manual Transaction" in the "Who" column.
Note: The transaction area of the screen is unavailable until the invoice has first been generated and saved in Skyware.
Please use the "Auto Apply" button.
A pop up window asking to apply all payments/adjustments to all transactions will appear. Click the "OK" button to apply any relevant transactions.
All relevant transactions, including payments and adjustments for this invoice, will now be shown in the transaction field area, along with the updated totals for Invoice Total, Payment(s) and Balance Due.
Use the "Add" button in the transaction field "Transactions" area to add an A/R transaction to this invoice.
Clicking the "Add" button will open the Invoice Transaction screen, for the specific generated invoice.
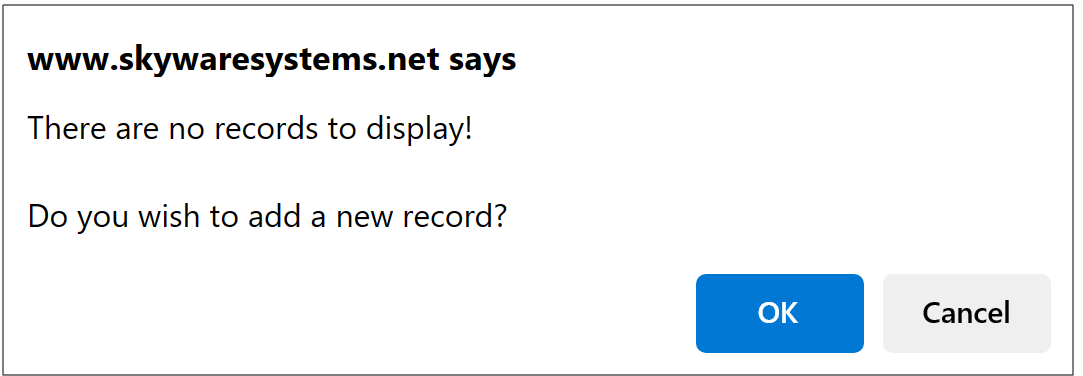
Note: If no transactions for this invoice have been added as of yet, a pop up window informing you that no records currently exist will appear.
Click "OK" to continue to the Invoice Transaction screen.
The Invoice Transaction screen for the specific invoice number selected on the Accounts Receivable Invoices (All) Maintenance screen will open, with some of the information already entered automatically, and some information fields available to complete.
Account #: This field is AUTOMATICALLY completed for you and lists the account number and account name for the A/R account associated with the selected invoice number, and CANNOT BE CHANGED.
Invoice #: This field is AUTOMATICALLY selected for you and contains both the invoice number AND the account number associated with the specific invoice number.
This field is required.
Details regarding the invoice used to enter the Invoice Transaction screen are listed next to the Invoice number field. These include the invoice number, the date the invoice was created, the total for this invoice, the total still due towards this invoice and the date, if any, that the invoice was printed (if not yet printed the date is shown here as Mon, 01/01/0001).
Transaction Type: This is a drop-down list of all available transaction types (as entered on the Post Type Maintenance screen). Select the desired transaction type for this manual transaction. By default the first (alphabetically listed) Posting Type is selected.
This field is required.
Note: The list includes payment posting type options BUT if selected here they will post as a CHARGE not a payment transaction. To post a payment you will need to use the Payment section/Invoice Payment screen (see below for more details).
Amount: Enter the amount to be applied to the invoice for this transaction. By default the amount is set as 0.00.
This field is required.
Amount Paid: At the time of generating the transaction, this field is AUTOMATICALLY completed for you as 0.00 and cannot be changed. Subsequently the value may be different if a payment has been posted.
Note: Payments towards transactions may also be added manually, using a different screen (the Invoice Payment screen). If a payment has been made towards this transaction it will be shown in this field.
Description: Enter a description for this transaction.
SKY STAFF ONLY: The date that the transaction was entered into Skyware. This date MAY be edited by Skyware staff ONLY if required.
When you are finished adding or editing the transaction, click the Save ![]() button to save the changes. This will save the transaction and refresh the Invoice Transaction screen, where the transaction will now be entered onto the left side, the details on the right and the screen ready to add the next transaction.
button to save the changes. This will save the transaction and refresh the Invoice Transaction screen, where the transaction will now be entered onto the left side, the details on the right and the screen ready to add the next transaction.
Repeat for all transactions to be applied manually to this invoice number.
Once all desired transactions have been entered, you may return to the Accounts Receivable Invoices (All) Maintenance screen by clicking the Invoice button in the local tool bar.
All manually added transactions for this invoice will now be shown in the transaction field area, along with the updated totals for Invoice Total, Payment(s) and Balance Due.
By default the Amount value is set as 0.00, however attempting to save a transaction with 0.00 as the amount value will result instead in a pop-up error message appearing and a message in red on the Invoice Transaction screen informing you that there is a validation error .
You MAY choose to select a different invoice number from the drop down list of all available invoice numbers (and associated accounts). HOWEVER changing the invoice number selected will mean:
1. That the invoice transaction added here will be applied to the selected invoice, NOT the invoice used to enter this screen - meaning after the manually added transaction is saved, when the Invoice Transaction screen reloads it will NOT be shown on this Invoice Transaction screen (but will have been applied to the selected invoice, and may be viewed using the Invoice Transaction screen for said invoice number).
2. IF there are no other transactions for this invoice number, when a manually added transaction is saved to a different invoice number, when the Invoice Transaction screen reloads, the details regarding the invoice will actually display the information for the OTHER invoice.
Note: Any payments and adjustments for this invoice are also shown in the transaction field area. Using the "Auto Apply" button AUTOMATICALLY adds these, but payments may also be applied MANUALLY.
Note: The Payments section of the Transactions area cannot be extended at the same time that the Transactions section is extended. Any payments already made are ALSO shown in the Transactions section.
Use the "Add" button in the transaction area "Payment" section to add a payment towards an A/R transaction for this invoice.
Clicking the "Add" button will open the Invoice Payment screen, for the specific generated invoice.
Note: If no payments for this invoice have been added as of yet, a pop up window informing you that no records currently exist will appear.
Click "OK" to continue to the Invoice Payments screen.
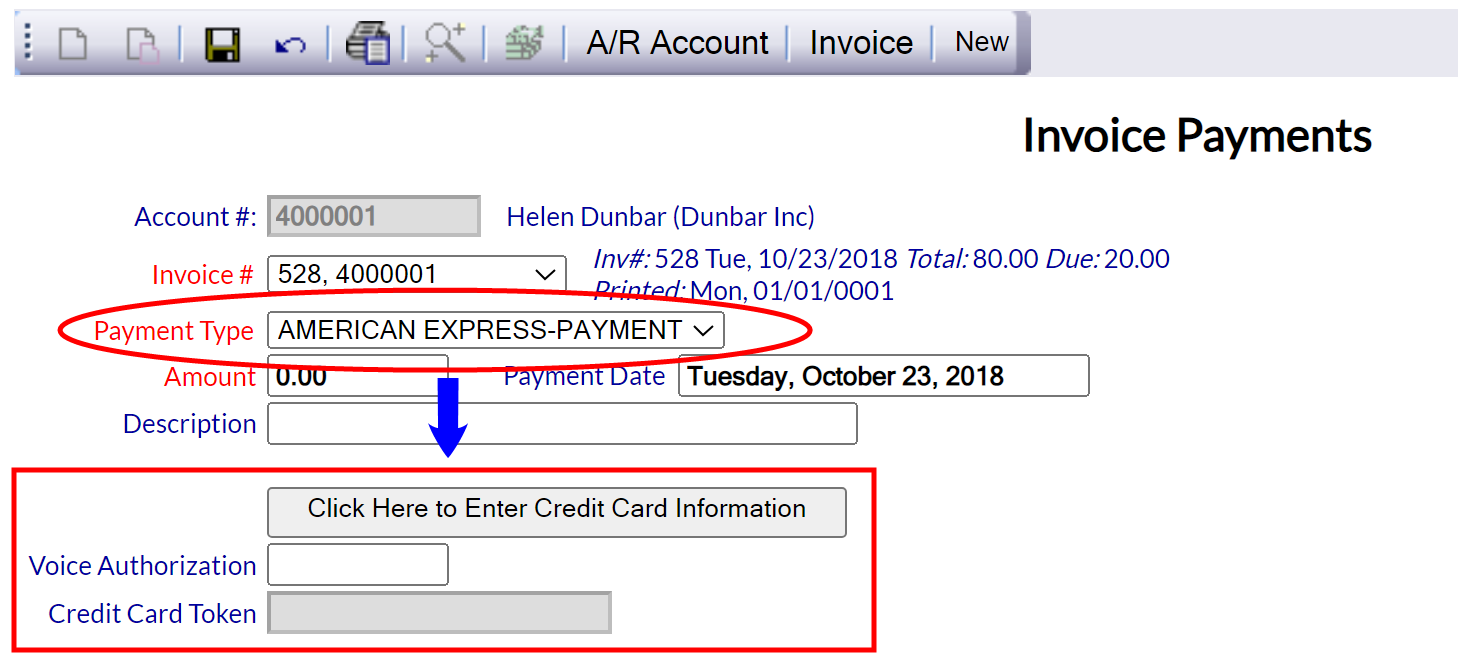
The Invoice Payments screen is very similar to the Invoice Transactions screen and opens for the specific invoice when selected, with some of the information already entered automatically, and some information fields available to complete.
Account #: This field is AUTOMATICALLY completed for you and lists the account number and account name for the A/R account associated with the selected invoice number, and CANNOT BE CHANGED.
Invoice #: This field is AUTOMATICALLY selected for you and contains both the invoice number AND the account number associated with the specific invoice number.
This field is required.
Details regarding the invoice used to enter the Invoice Payment screen are listed next to the Invoice number field. These include the invoice number, the date the invoice was created, the total for this invoice, the total still due towards this invoice and the date, if any, that the invoice was printed (if not yet printed the date is shown here as Mon, 01/01/0001).
Payment Type: This is a drop-down menu of available payment options (that your Property accepts). This list is generated from the Post Type Maintenance screen, but contains ONLY the payment posting type options.
This field is required.
Note: Selecting a credit card payment type option will automatically update the screen with additional fields required for entering credit card information.
Click the button "Click Here to Enter Credit Card Information" to open a pop-up window to your credit card gateway provider where the relevant credit card information may be entered to obtain the credit card token.
Amount: Enter the amount to be applied to the invoice for payment. By default the amount is set as 0.00.
This field is required
Payment Date: Enter the Payment Date for this payment. By default it is show as the Current System Date but may be changed by clicking within the date field and selecting a different date form the calendar that appears. Picking a date will automatically close the calendar and populate the field with the selected date.
Description: Description for this payment. Enter the description you wish to appear for this payment in the Payment section of the Transaction area and on the Invoice Payment screen.
When you are finished adding or editing the payment, click the Save ![]() button to save the changes. This will save the payment and refresh the Invoice Payment screen, where the payment will now be entered onto the left side, the details on the right and the screen ready to add the next payment.
button to save the changes. This will save the payment and refresh the Invoice Payment screen, where the payment will now be entered onto the left side, the details on the right and the screen ready to add the next payment.
Note: Payments entered cannot be deleted, so please be careful when entering a payment that it is being applied to the correct invoice!
Repeat for all payments to be applied manually to this invoice number.
Once all desired payments have been entered, you may return to the Accounts Receivable Invoices (All) Maintenance screen by clicking the Invoice button in the local tool bar.
All manually added payments for this invoice will now be shown in the transaction field area payments section, and will have been applied to the transaction(s) in the transactions section, with the updated totals for Invoice Total, Payment(s) and Balance Due shown at the top.
Note: Manually entered payments cannot be assigned to a particular transaction, the payment will be applied (until the total value has been reached) to the transactions which appear in the list of transactions by date order (oldest first).
As on the Invoice Transaction screen, the default Amount value is set as 0.00, however attempting to save a payment with 0.00 as the amount value will result instead in a pop-up error message appearing and a message in red on the Invoice Transaction screen informing you that there is a validation error.
You MAY choose to select a different invoice number from the drop down list of all available invoice numbers (and associated accounts). HOWEVER changing the invoice number selected will mean
1. That the invoice payment added here will be applied to the selected invoice, NOT the invoice used to enter this screen - meaning after the manually added payment is saved, when the Invoice Payments screen reloads it will NOT be shown on this Invoice Payments screen (but will have been applied to the selected invoice, and may be viewed using the Invoice Payments screen for said invoice number).
2. IF there are no other payments for this invoice number, when a manually added payment is saved to a different invoice number, when the Invoice Payment screen reloads, the details regarding the invoice will actually display the information for the OTHER invoice.
Once you are done adding or editing an invoice, you may use several buttons in the local tool bar to perform other functions specific to dealing with invoices.
A/R Account: Click this button to be taken to the guest record for the specific A/R account associated with the displayed invoice.
Invoice: Click this button to print the displayed invoice. This will open the invoice on a separate tab for printing, and will add the "Printed Date" to the invoice on the Invoice screen.
Invoice +: Click this button to print this invoice AND all supporting guest statements. This will open the invoice AND any supporting guest statements on a separate tab for printing, and will add the printed date to the invoice on the Invoice screen.
Statement: Click this button to print this statement. This will open the statement on a separate tab for viewing and printing if desired, but will NOT add the printed date to the invoice on the Invoice screen.


